Everyone loves a cheese cake, and if you think my Toblerone Cheesecake is too sweet then maybe try this cake out. This is a cooked cheese cake that is light and fluffy and goes well with mixed red berries.
This recipe is very simple and it only takes about an hour to put one of these cakes together!
You will need (serves 6-8 people):
- An oven
- A fridge
- A cake tin
Here I'm using a spring-form cake-tin that is 20cm (8") in diameter. - 600g (21℥) of cream cheese
I normally use plain Philadelphia, however if you can find locally produced fresh cream cheese then pay a little extra for a much better tasting cake. - 200g (7℥ or two metric cups) of castor sugar (super-fine sugar)
- 3 eggs
Try to use free-range eggs if possible, as the flavour and consistency of your cake will be better. - 4 tablespoons of thickened cream
In the UK, you'll find this called whipping cream, and in the USA as light whipping cream, but either way it should contain about 35% milk fat. - 120g (4℥ or half a metric cup) of butter
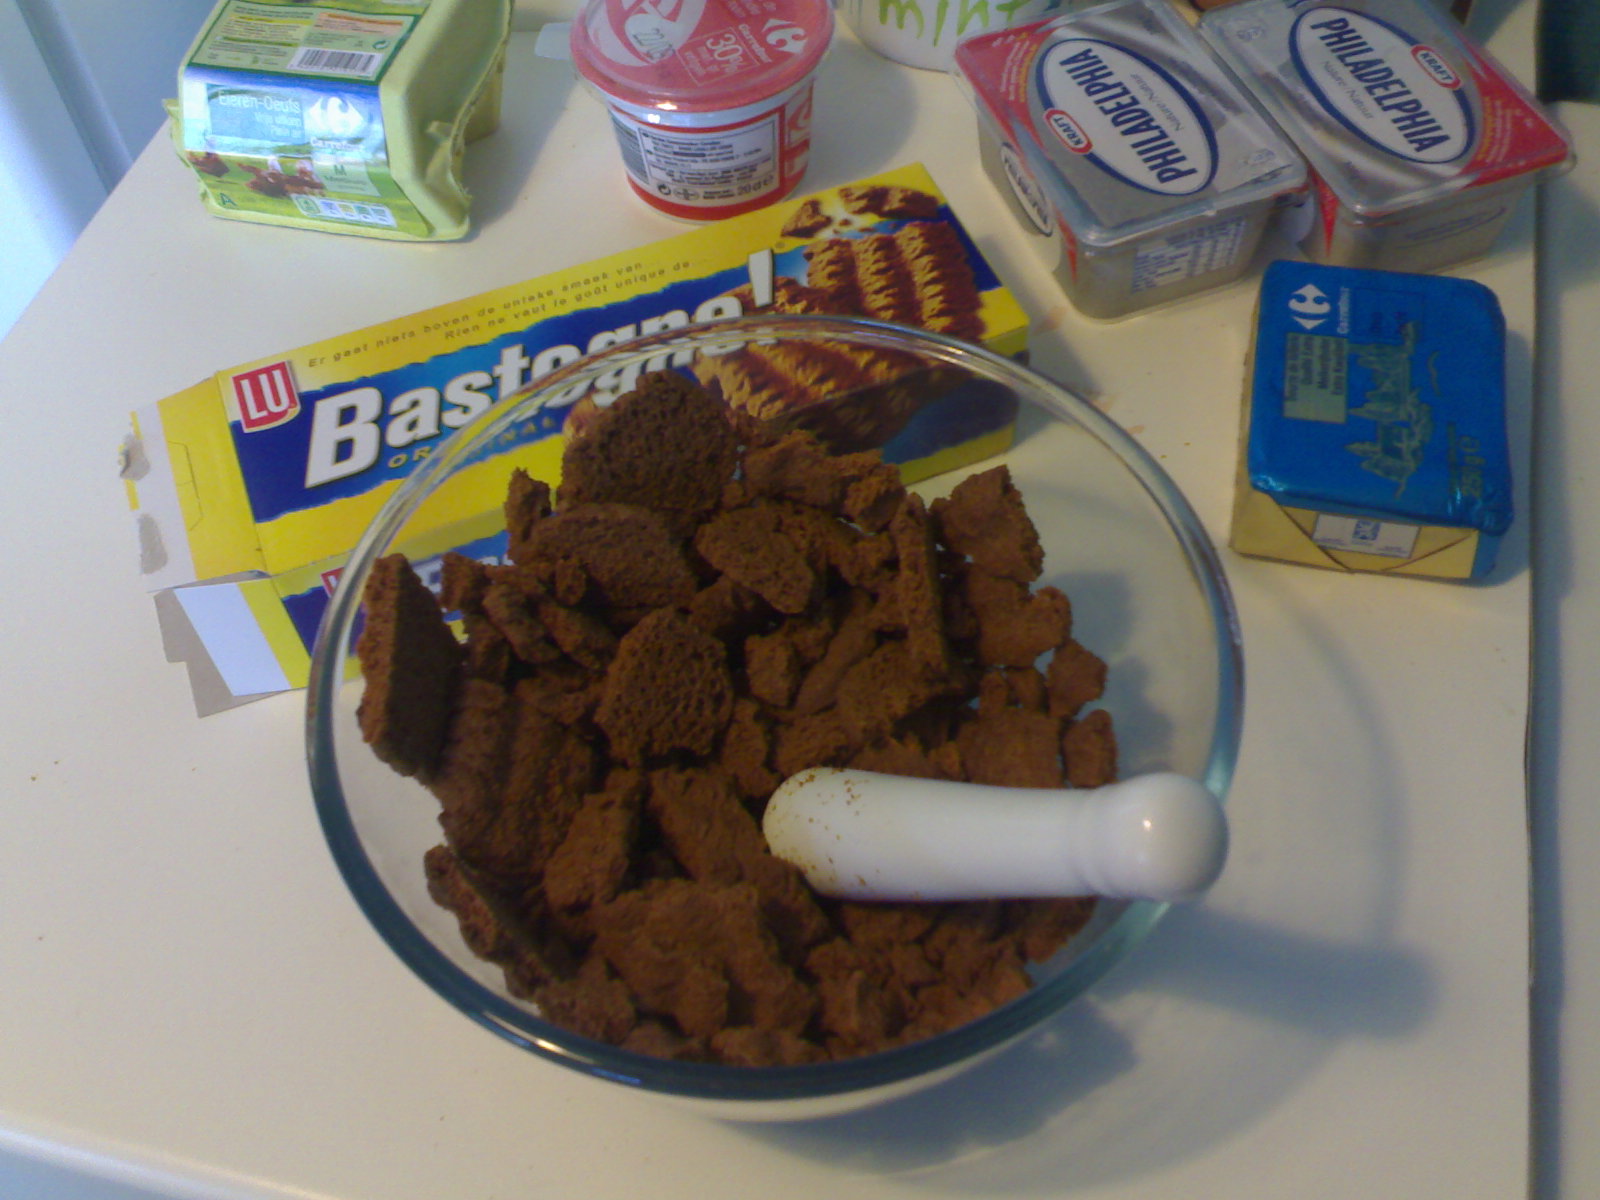
- 250g (9℥) of sweet ginger biscuits
In Australia, I would use the Victorian version of Arnott's Ginger Nut biscuits, and in Belgium I would use Lu Bastogne. Either way, these are chunky cookie-style biscuits with a soft ginger flavour. - 1 teaspoon of ground vanilla
If real vanilla cannot be found, you can use around 10mℓ (⅓fl℥) of vanilla extract instead, but try to avoid synthetic vanilla essence. - Mixed red berries to cover the top of the cake
Many supermarkets will sell these in the frozen food section, and these are just fine.
What to do:
 Finely crush the biscuits. The finer you crush them, the easier it will be to create the biscuit-base for the cake.
- Start preheating your oven for 165°C (330°F).
- Chop the butter into small pieces and melt it while mixing it with the biscuits, either in a pan or in a bowl in a microwave oven. Be careful not to allow the mixture to get too hot otherwise the biscuits will burn. Continue to mix and melt the butter until all of the butter is melted and the finely crushed biscuit is covered in butter.
- While the butter is cooling down slightly, grease the cake-tin lightly, using a little bit of the butter.
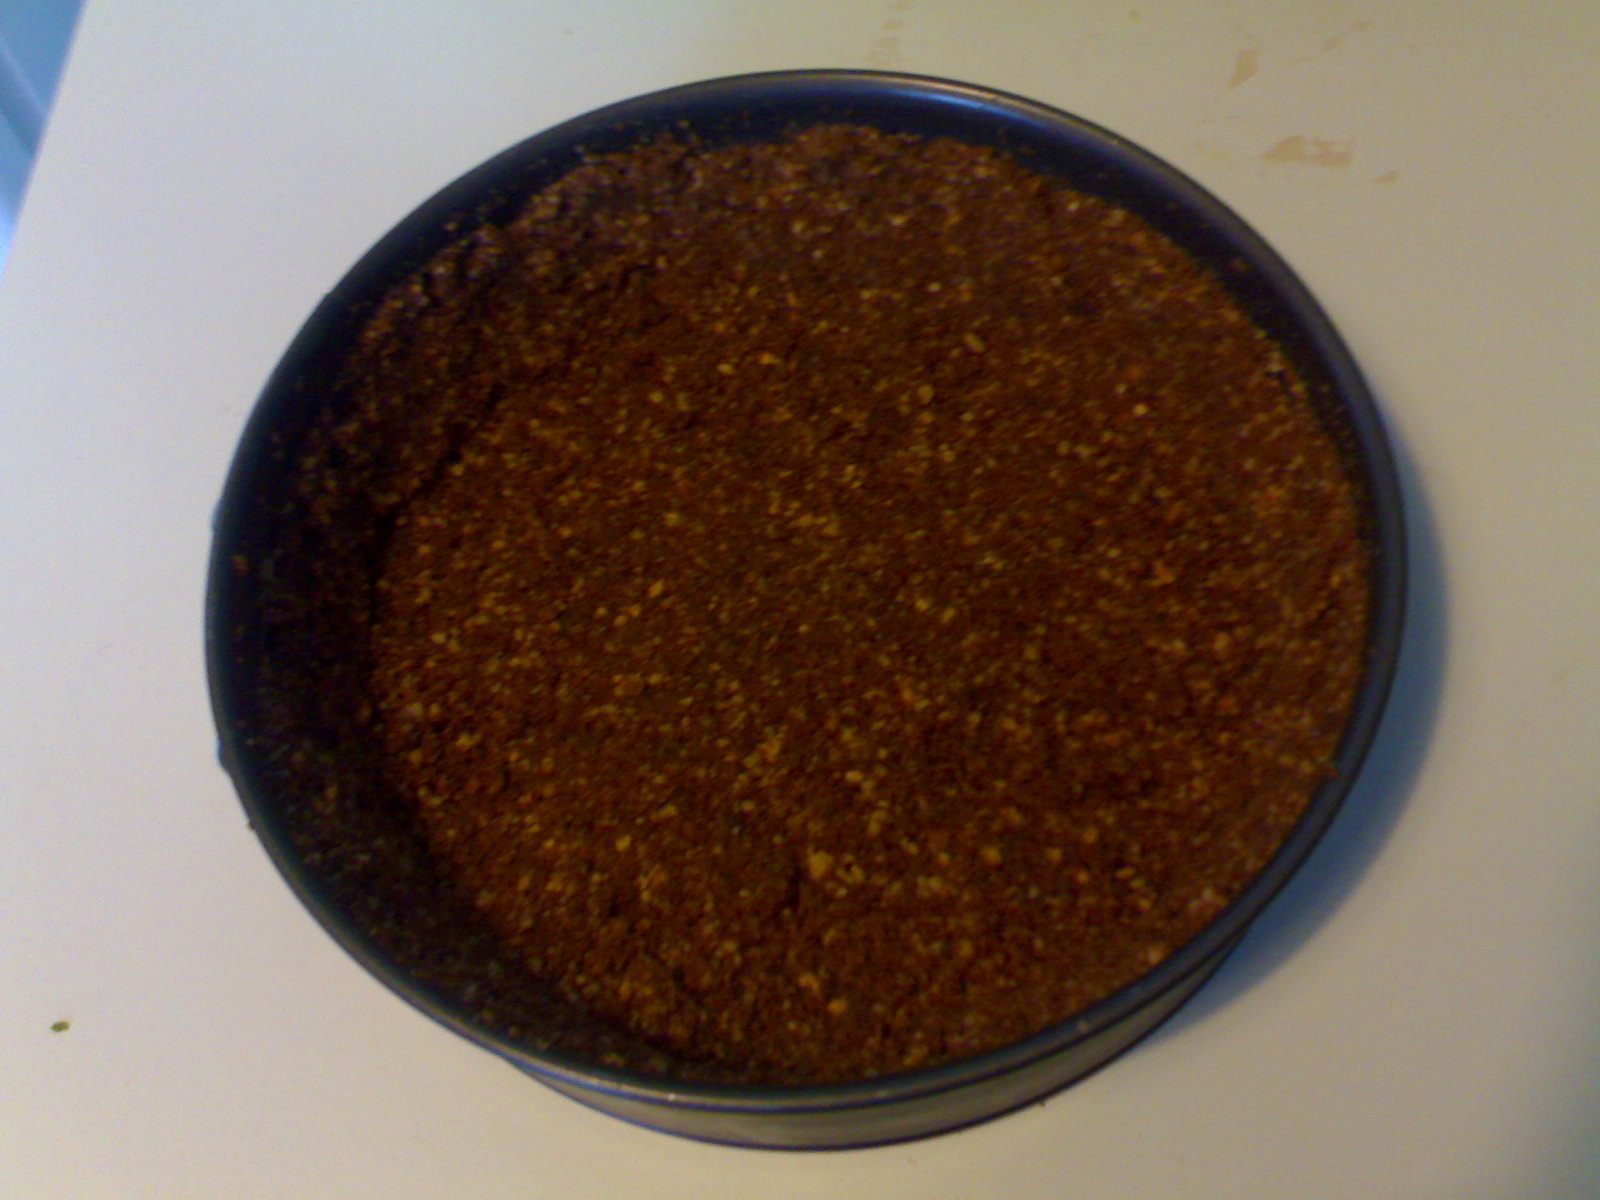
 Pour the biscuit base mixture into the cake-tin and spread it out so that it covers the bottom and sides of the tin. To make it easier, you can use the back of a metal tablespoon and tilt the cake-tin slightly.
- Place the cake-tin and the biscuit base in the fridge to allow it to set.
- With an electric mixer, slowly mix the cream cheese, thickened cream and castor sugar together until the mixture is consistent. Be careful not to mix too quickly as to whip the mixture.
 Mix in the eggs, one at a time, waiting for each egg to be consistently mixed into the mixture before adding the next one.
- Mix in the vanilla slowly, and mix well.
 Pour the cake mixture into the biscuit base inside the cake tin and give it a gentle shake to let it settle.
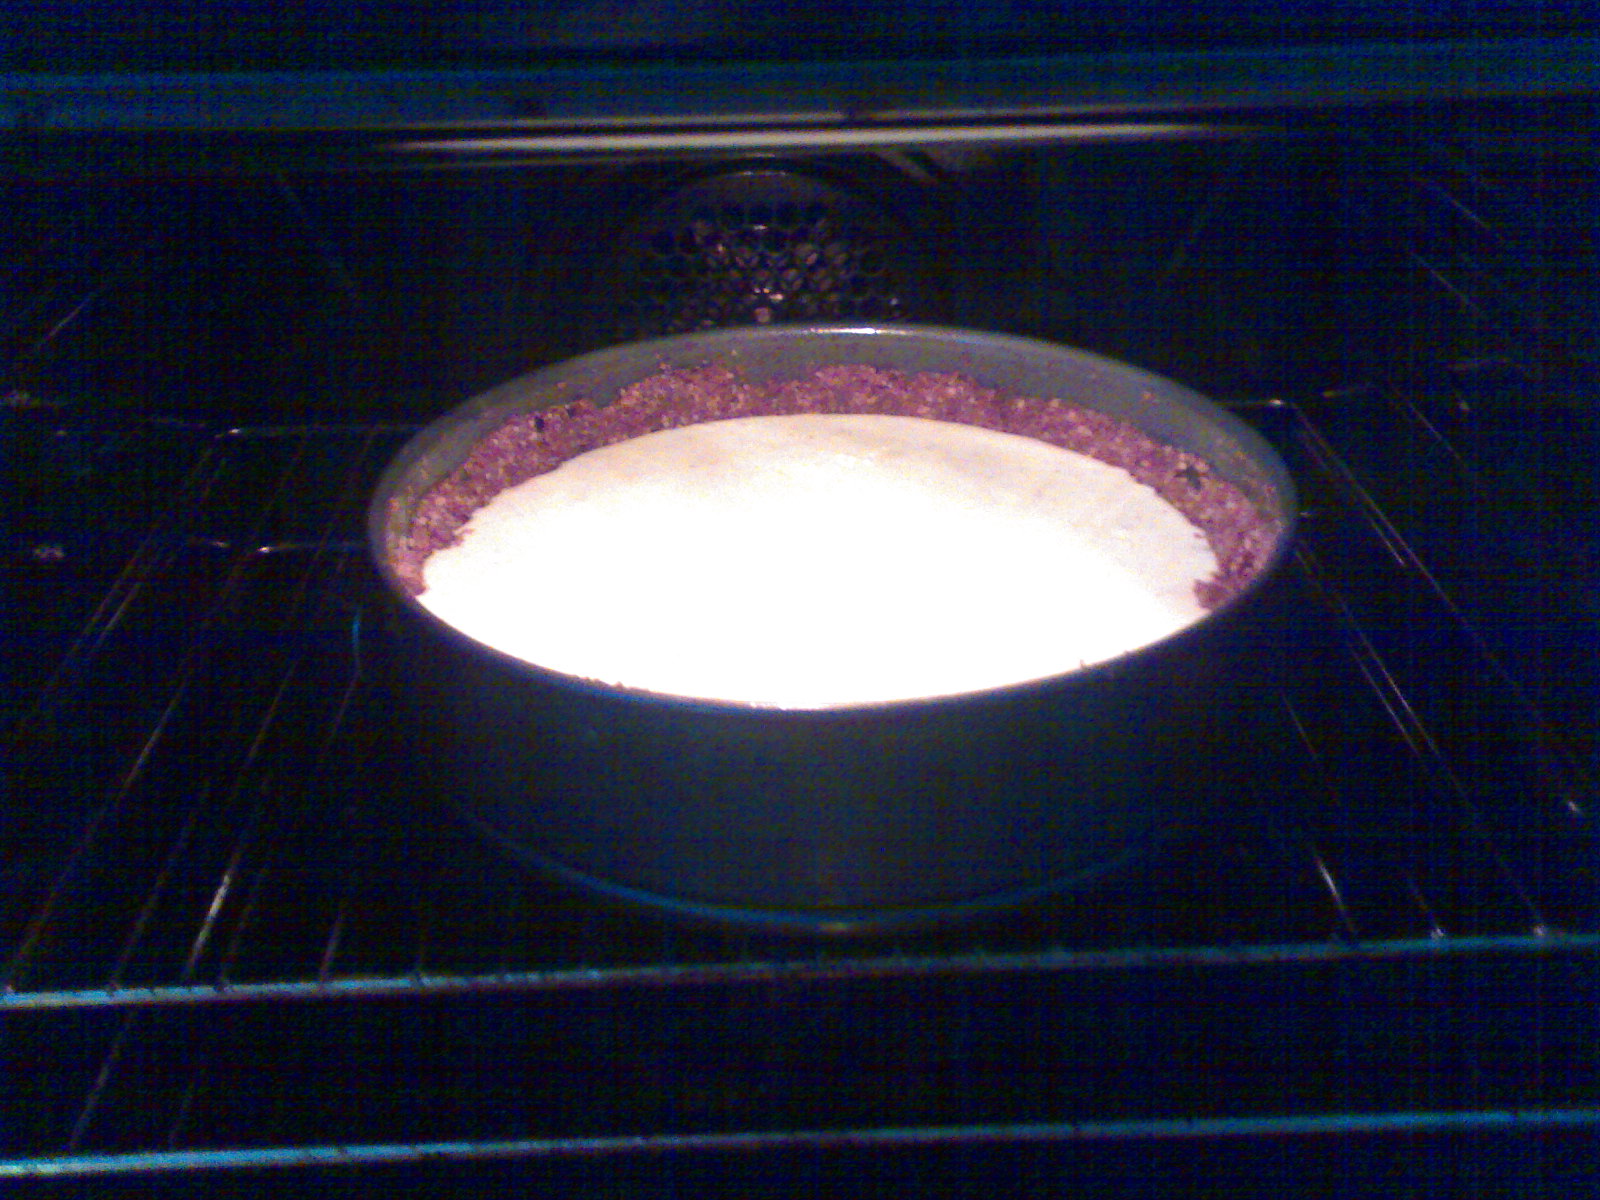
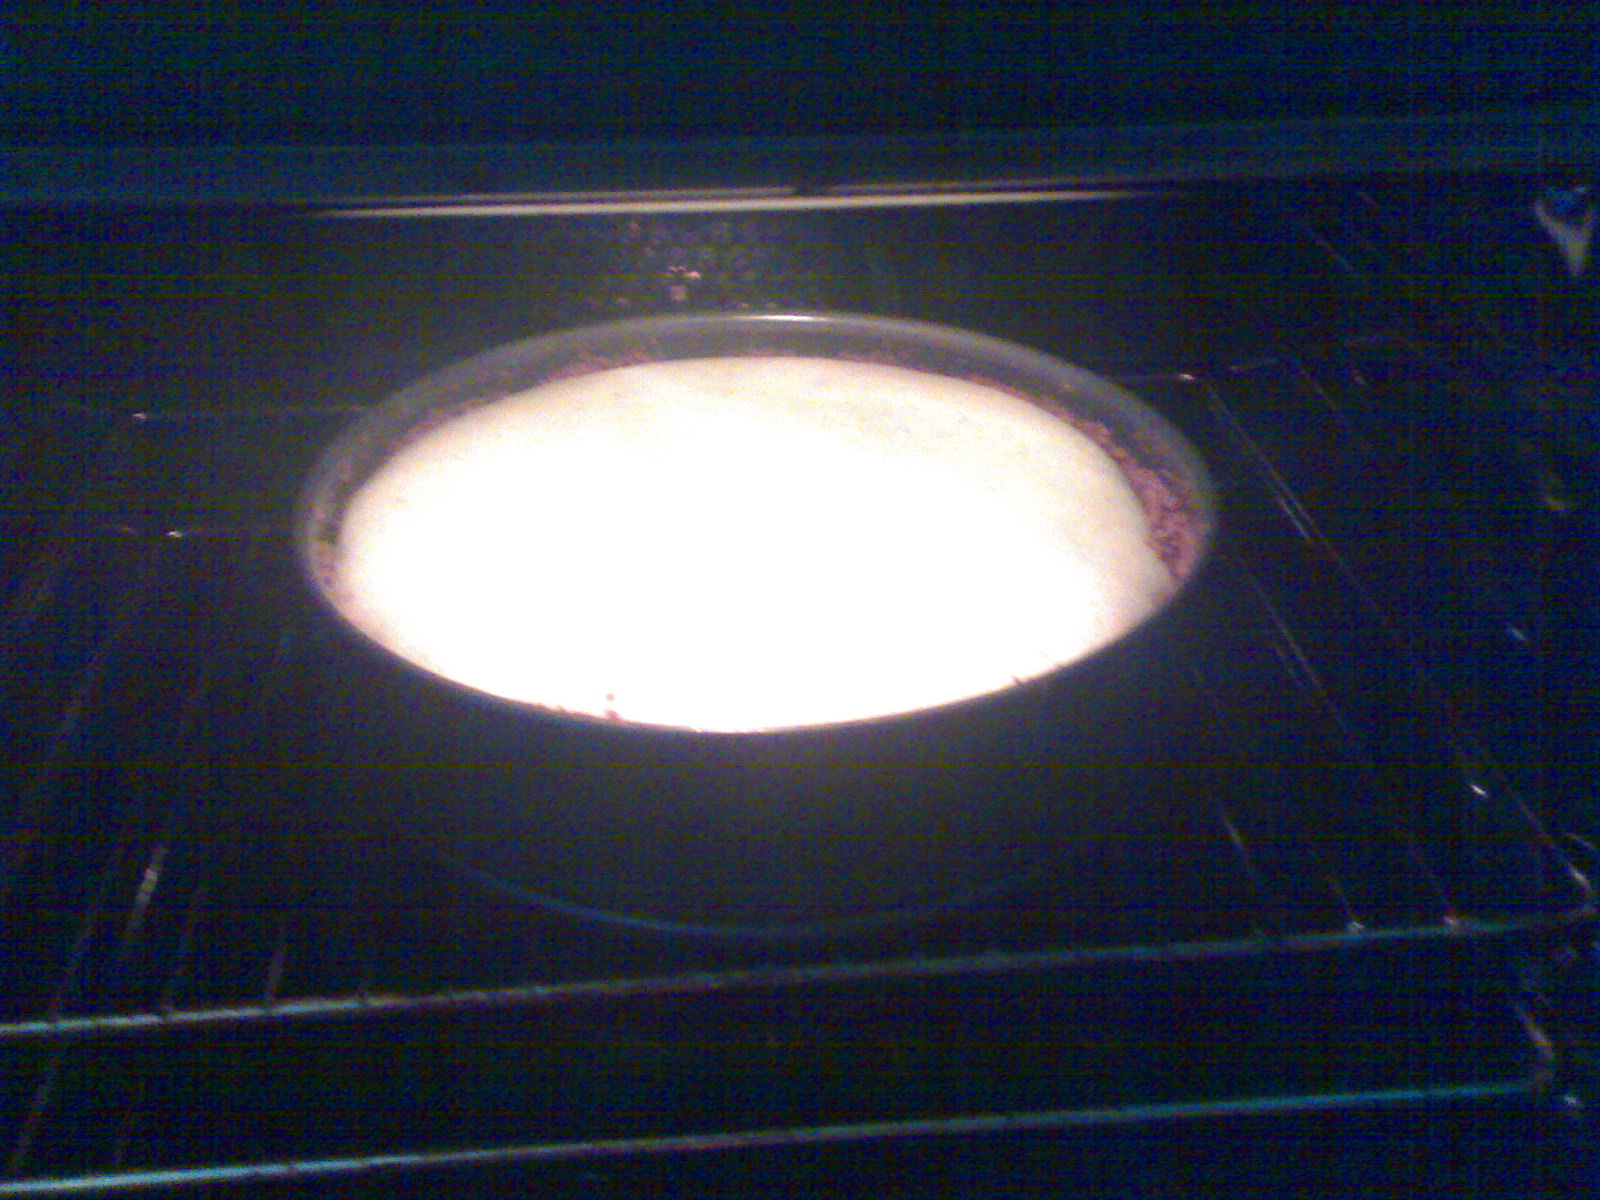
- Bake the cake in your oven for 20-50 minutes. The mixture should at most come up to around ⅔ of the height of the biscuit base, as it will rise while in the oven.
 Turn off the oven once the cake has risen and browned slightly, and leave it in the oven to cool down until the oven is room temperature. It's normal for the cake to sink slightly, and it may crack if it cools too quickly.
- Once the cake has cooled, cover the cake in foil and place it in the fridge to further set for at least two hours.
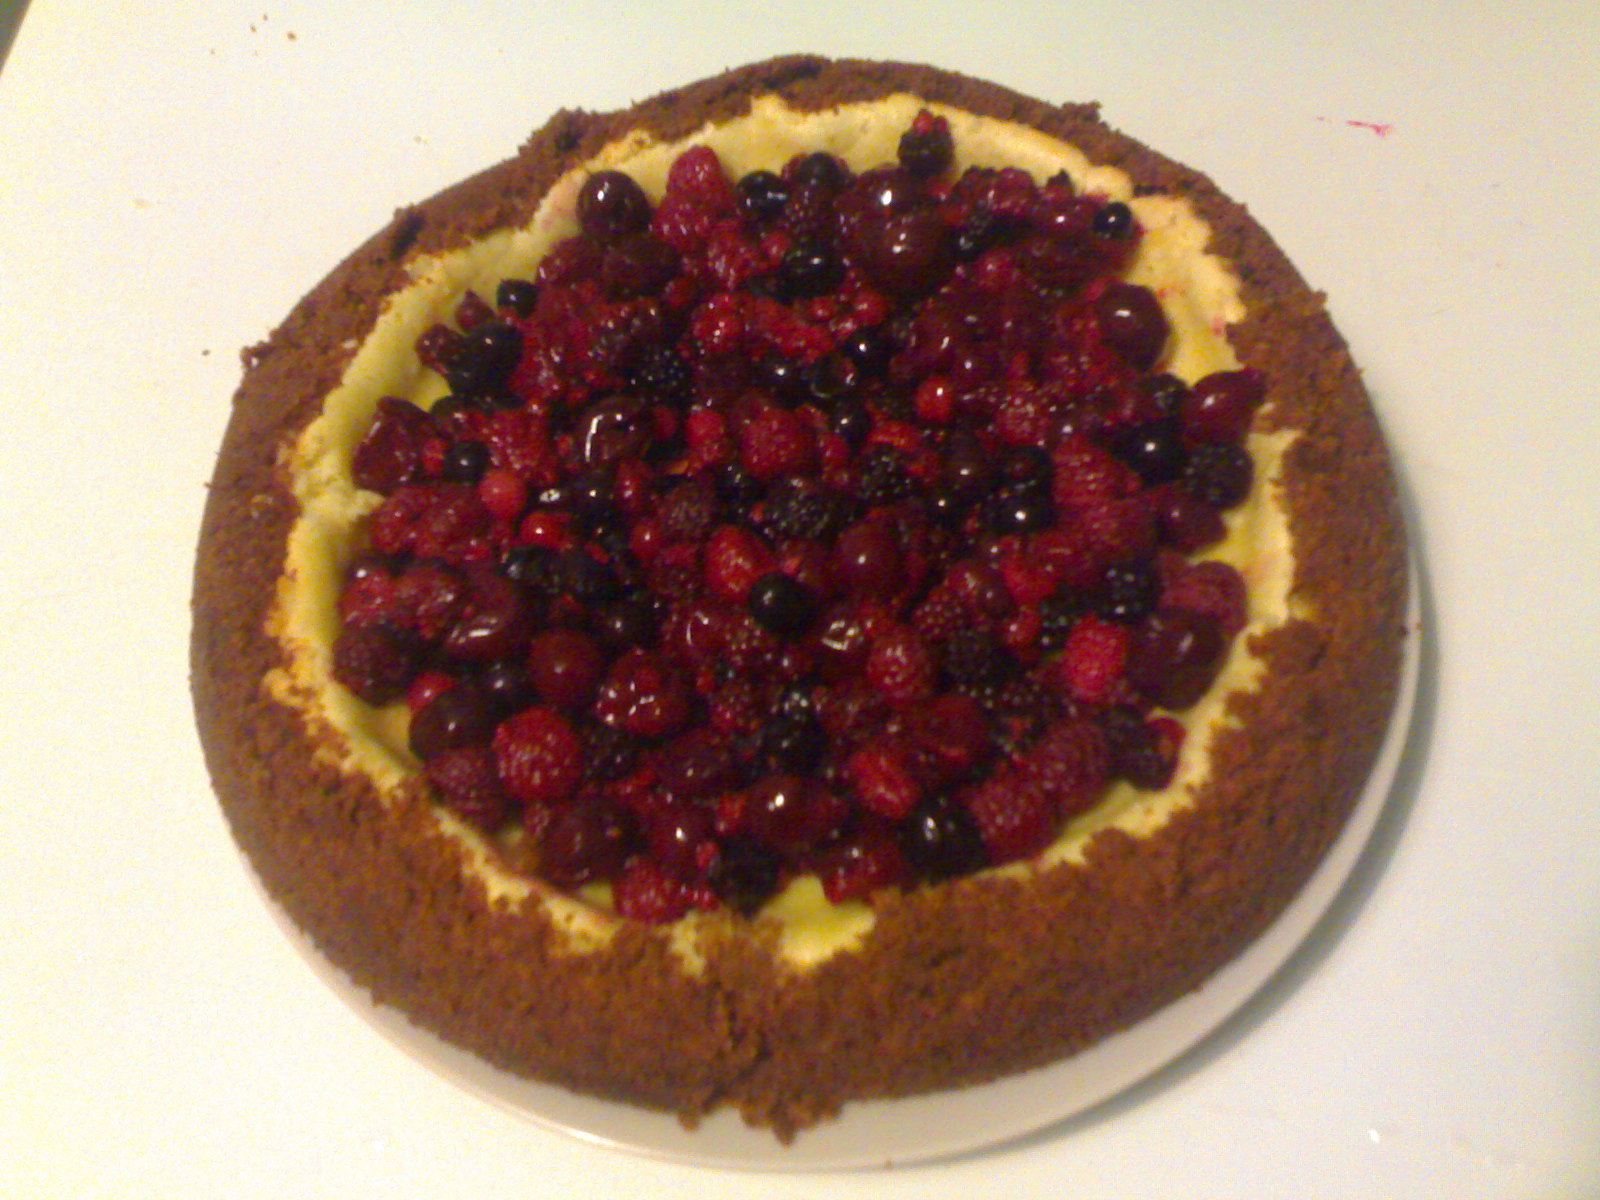
- When ready to serve, take the cake out of the cake-tin and top with mixed red berries.

So there you have it, my fluffy version of the classic cheese cake! It's light enough to serve after dinner, and I recommend you leave it out of the fridge for around 30-minutes to allow the biscuit base to soften slightly.
If you liked this recipe, please leave a comment!